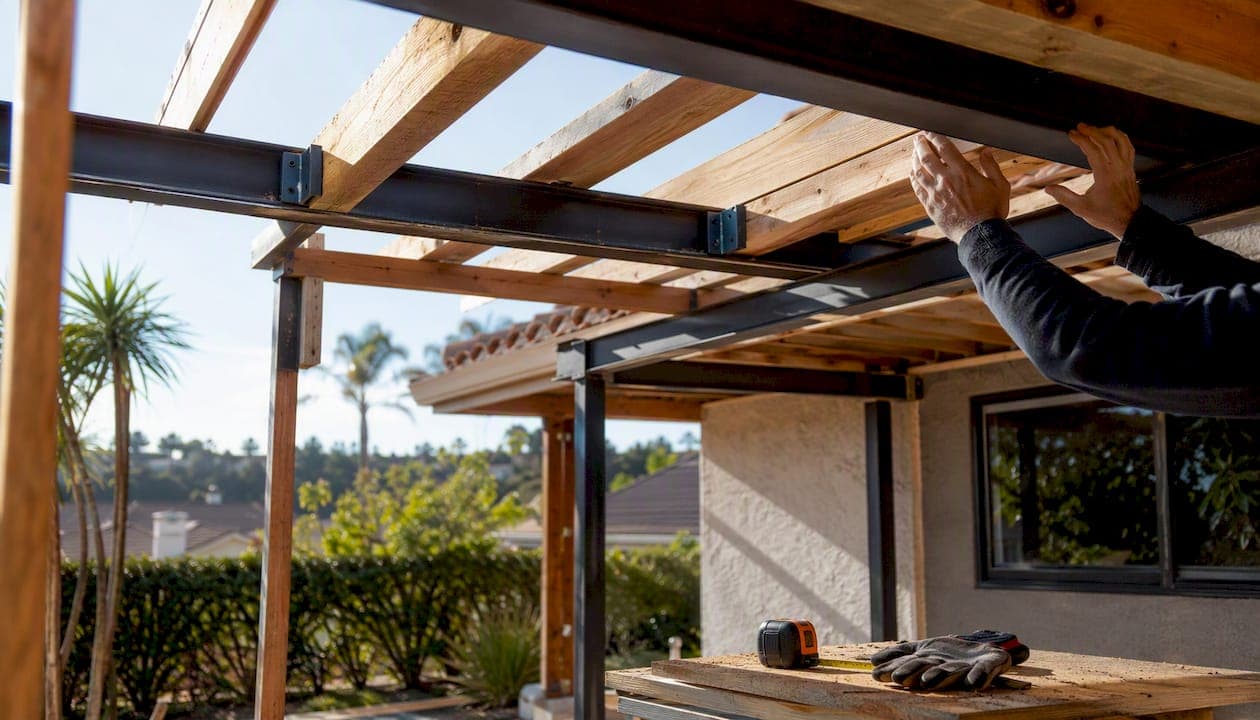
Expect patio enclosure projects to range from roughly $500 for a basic DIY screen kit to $150,000 or more for a custom four-season glass solarium. For most homeowners, the realistic budget sits somewhere between $8,700 and $28,400, depending on scope and finish level, according to national cost data. Here are the common per-square-foot bands to orient your planning:
- Screening an existing covered patio: $10–$25 per sq ft
- New screened structure (framed, no HVAC): $50–$175 per sq ft
- Three-season room (insulated, no heating/cooling): $80–$230 per sq ft
- Four-season sunroom or solarium: $200–$400+ per sq ft
The single biggest budget risk is what contractors often leave off the headline quote: site prep, permits, and HVAC rough-in can add $5,000–$20,000 to a project that looked affordable on paper. Measure your patio's square footage, decide which tier fits your goals, and request at least three local quotes before committing to anything.
Pro Tip: Write down your square footage before calling any contractor. A 200 sq ft screened room and a 200 sq ft four-season sunroom can differ by $30,000 or more — knowing your number keeps the conversation honest from the first call.
Key Takeaways
Patio enclosures cost anywhere from $10 per sq ft for a basic screen retrofit to $400+ per sq ft for a four-season sunroom, with most full projects landing between $8,700 and $28,400 before upgrades.
| Point | Details |
|---|---|
| Per-sq-ft ranges vary widely | Screen retrofits run $10–$25/sq ft; four-season sunrooms run $200–$400+/sq ft. |
| Site prep is the biggest hidden cost | Foundation work, drainage, and permits can add $5,000–$20,000 to any project. |
| Get three comparable bids | Send every contractor the same written scope to avoid apples-to-oranges estimates. |
| Permits protect resale value | Unpermitted enclosures create disclosure issues and reduce buyer confidence at sale time. |
| Jeffsellssandiego | Helps San Diego sellers identify which enclosure investments increase sale price before listing. |
Table of Contents
- How much do patio enclosures cost by type?
- What factors drive patio enclosure pricing the most?
- Sample project totals by size
- Prefab kits and DIY vs. hiring a pro: which makes sense for your project?
- What should you expect from permits and project timelines?
- What do common add-ons and upgrades actually cost?
- Will a patio enclosure add home value in San Diego?
- How to get accurate bids and avoid the "missing add-on" problem
- What I've seen in San Diego: a real estate agent's perspective
- Selling soon? Here's how Jeffsellssandiego can help
- Sources
How much do patio enclosures cost by type?
The enclosure type you choose sets the floor and ceiling of your budget more than any other single factor. HomeGuide's 2026 cost data breaks the market into clear tiers based on structure, materials, and climate performance.
What each type actually delivers:
- Screen retrofits add insect protection and shade to an already-roofed patio. They use aluminum or fiberglass screen panels in a lightweight frame. No thermal benefit, but the cost is low and the installation is fast.
- New screened rooms require framing, a proper foundation, and a roof. They feel like an outdoor room rather than a modified porch. Visual upgrade options like decorative frames and privacy screens can push costs toward the top of the range.
- Three-season rooms add glass or acrylic panels and better insulation than a screened room, extending usable months without a full HVAC system. Aluminum frames are common; vinyl frames cost more but insulate better.
- Four-season sunrooms are essentially a room addition. They need insulated low-E glass, a proper foundation, and a connection to the home's HVAC system. Building departments treat them as additions, which means full plan review and inspections.
- Solariums and conservatories use glass on the roof as well as the walls. They deliver the most light but also the highest energy load. Sunroom cost comparisons show these projects regularly exceed $100,000 for custom designs.
- Prefab kits ship as panels you assemble on an existing level slab or deck. Material costs are low, but you still need a proper foundation and, in many jurisdictions, a permit.
Frame material matters more than most homeowners expect. Aluminum frames are durable and low-maintenance but conduct heat and cold. Vinyl frames insulate better and resist corrosion, making them the preferred choice in coastal climates. Basic single-pane glass is cheapest; insulated double-pane low-E glass adds $15–$40 per sq ft to the glazing line but pays back in energy costs over time.
Four-season rooms and solariums almost always trigger full building-code treatment: structural drawings, footing inspections, energy-code compliance, and sometimes fire-separation requirements. Budget for this before you fall in love with a design.
What factors drive patio enclosure pricing the most?
Two projects that look identical on paper can differ by $20,000 or more. Here is where the divergence usually comes from:
Size and footprint set the baseline. Every square foot adds materials and labor, but larger projects often get a lower per-sq-ft rate because fixed costs (mobilization, permit fees, equipment) spread across more area.
Foundation and site prep is the most common hidden cost. An existing concrete slab in good condition saves thousands. A project that needs new footings, grading, drainage correction, or demolition of an old structure can add $3,000–$15,000 before framing even starts, according to HomeAdvisor's project data.
Framing and roof type affect both cost and code treatment. Attaching a new roof to the home's existing structure requires a structural engineer in many jurisdictions. A freestanding structure avoids that but adds its own framing costs.
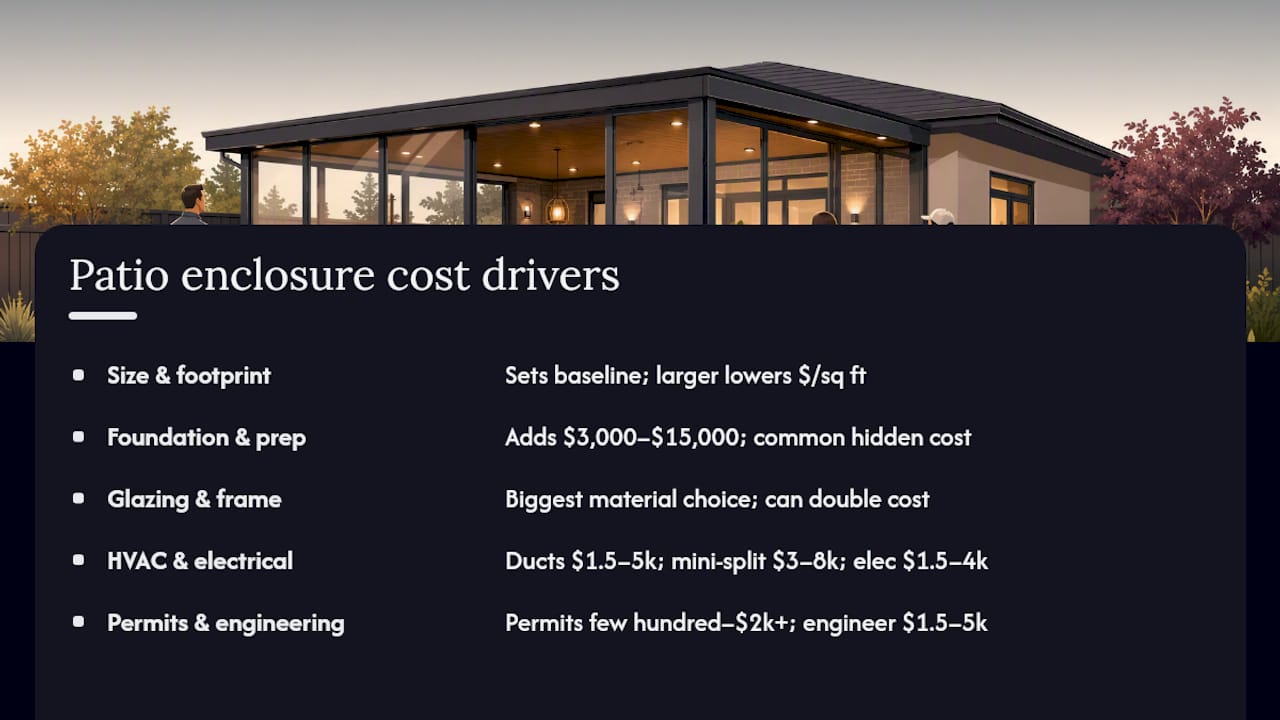
Glazing and frame materials are the biggest single material decision. The jump from basic aluminum-frame single-pane to thermally broken vinyl-frame insulated low-E glass can double the material cost of the enclosure walls alone.
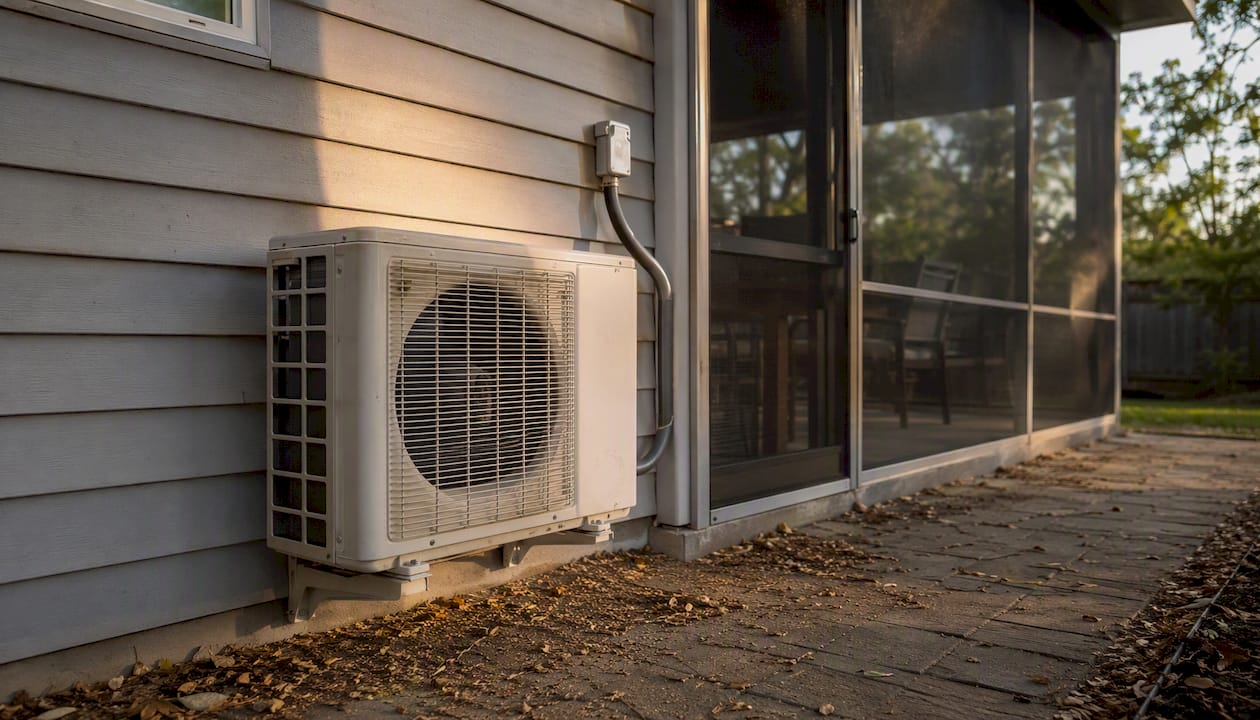
HVAC and electrical are frequently listed as "not included" on initial bids. Extending existing ductwork runs $1,500–$5,000. A ductless mini-split system adds $3,000–$8,000 installed. A basic electrical package (outlets, lighting circuit) adds $1,500–$4,000.
Labor rates vary by region. Coastal metro markets like San Diego run noticeably higher than inland or rural areas. Specialty trades — glaziers, electricians, HVAC techs — each add their own mobilization costs.
Permits and engineering are not optional on most projects above a screen retrofit. Permit fees range from a few hundred dollars in small municipalities to $2,000+ in high-cost jurisdictions. If stamped structural drawings are required, add $1,500–$5,000 for the engineer.
Finishes and flooring are easy to underestimate. Tile, composite decking, or hardwood flooring inside an enclosure adds $8–$25 per sq ft. Painted drywall on knee walls, ceiling fans, and trim work all appear as line items on detailed bids.
Local climate requirements matter in ways that don't show up in national averages. Snow-load ratings, wind-uplift specs, and flood-zone setbacks can require heavier framing, stronger glass, and deeper footings.
Hard-to-see add-ons that frequently inflate bids include: structural retrofits to the home's existing wall or roof where the enclosure attaches, improved drainage around the new foundation, and HOA-required design reviews or material approvals.
Pro Tip: Ask every contractor to mark each line item as "included," "allowance," or "not included." A bid that looks $8,000 cheaper than the others often has three "not included" items the others priced in.
Sample project totals by size
These ranges reflect typical installed costs for four common enclosure types across three project sizes, based on Builds and Buys cost data and HomeGuide's per-sq-ft benchmarks. Figures assume basic finishes, a usable existing slab or deck, and standard permit requirements. Regional labor premiums, upgraded glazing, or HVAC additions will push totals toward or beyond the top of each range.
| Project Size | Screen Retrofit | New Screened Room | Three-Season Room | Four-Season Sunroom |
|---|---|---|---|---|
| 100 sq ft | $1,500–$5,000 | $3,000–$15,000 | $8,000–$15,000 | $5,000–$20,000 |
| 200 sq ft | $2,000–$5,000 | $8,700–$28,400 | $8,700–$28,400 | $8,700–$28,400 |
| 300 sq ft | $3,000–$8,000 | $15,000–$40,000 | $8,700–$28,400 | $90,000–$110,000 |
| 400 sq ft | $4,000–$10,000 | $5,000–$20,000 | $8,700–$28,400 | $90,000–$110,000 |
A 200 sq ft four-season sunroom with a mini-split, upgraded low-E glass, and tile flooring can easily land at $90,000–$110,000 once all trades are included. That same footprint as a screened retrofit stays under $5,000. The gap between those two numbers is the full spectrum of patio enclosure pricing.
Prefab kits and DIY vs. hiring a pro: which makes sense for your project?
The honest answer is that DIY works well for a narrow slice of projects and poorly for everything else.
What prefab kits include and require
Most prefab enclosure kits ship as pre-cut aluminum or vinyl panels with screen or basic glazing. They are designed to bolt together on an existing level slab or deck. What they don't include: foundation work, electrical, HVAC, roofing modifications, or permits. A kit priced at $4,000 in materials can easily reach $12,000–$18,000 once a contractor installs it properly with a permit.
The DIY case:
- Your project is a screen retrofit on an existing covered patio with a solid concrete slab.
- Your municipality allows screen enclosures without a permit (confirm this before starting).
- You have basic carpentry skills and access to a miter saw and drill.
- The project does not touch the home's existing roof structure.
The "hire a pro" case:
- The project requires a new foundation, footing, or drainage work.
- You need electrical, HVAC, or plumbing connections.
- The enclosure attaches to the home's existing roof or wall framing.
- Your jurisdiction requires a permit and inspections (most do for anything beyond a basic screen).
- You want a manufacturer's warranty to remain valid.
Labor as a share of total cost
labor](https://currentcost.org/sunroom-patio-enclosure-cost-price-ranges-what-drives-it/). On a $25,000 project, that's $10,000–$15,000 in labor. DIY saves that money but transfers the risk of code violations, structural errors, and voided warranties entirely to you.
Quick decision checklist:
- Does the project require a permit? If yes, strongly consider a licensed contractor.
- Does it touch the home's roof, walls, or electrical panel? Hire a pro.
- Is the foundation already level, solid, and properly sized? DIY or kit may work.
- Are you comfortable pulling permits and scheduling inspections yourself? If not, hire out.
- Is resale within five years a possibility? A permitted, professionally installed enclosure appraises better and avoids disclosure headaches.
What should you expect from permits and project timelines?
Timelines vary more than most homeowners expect, and permits are usually the longest single variable.
Typical timelines by type:
- Screen retrofit on existing cover: 1–3 days of installation; permit review (if required) adds 1–4 weeks.
- New screened room: 1–3 weeks of construction; permit review adds 2–6 weeks.
- Three-season room: 3–6 weeks of construction; permit review adds 4–8 weeks.
- Four-season sunroom: 6–16 weeks of construction; permit review adds 6–12 weeks, sometimes longer in high-demand jurisdictions.
What the permit process actually involves:
Most jurisdictions require a permit application, a set of construction drawings, a plan review by the building department, and at least one inspection (often a framing inspection and a final). Some require a separate electrical permit. Plan review alone can take 2–8 weeks in busy municipalities. San Diego County, for example, has permit timelines that vary significantly by project type and workload.
Pro Tip: Submit your permit application before finalizing your contractor start date. Many homeowners lose weeks waiting for permit approval after a contractor is already scheduled. Apply as soon as your drawings are ready.
When a project requires new footings, changes to the existing roof structure, or sits in a flood zone or high-wind area, a licensed structural engineer's stamped drawings become a near-universal requirement. Budget $1,500–$5,000 for engineering and add 2–4 weeks to the review timeline.
What do common add-ons and upgrades actually cost?
Most enclosure bids start lean and grow as homeowners add the features that make the space actually usable. Here are the upgrades worth knowing about before you sign anything:
- Mini-split HVAC system: $3,000–$8,000 installed. Nearly mandatory for four-season use; optional but popular for three-season rooms in hot climates.
- Extending existing ductwork: $1,500–$5,000, depending on distance and access. Cheaper than a mini-split if the existing system has capacity.
- Insulated low-E double-pane glazing upgrade: $15–$40 per sq ft over basic glass. Worth budgeting for any room you plan to use more than a few months per year.
- Upgraded flooring (tile, composite, hardwood): $8–$25 per sq ft installed. Concrete slab left as-is is the cheapest option; tile is the most durable for an outdoor-adjacent space.
- Sliding or French doors: $1,500–$6,000 per opening, depending on size and material. Adds significant visual appeal and resale value.
- Skylights: $1,500–$4,500 per unit installed. Great for light but adds a maintenance point and a potential leak source if not flashed correctly.
- Electrical and lighting package: $1,500–$4,000 for a basic circuit with outlets and ceiling fan rough-in; more for recessed lighting or a dedicated panel circuit.
- Built-in ceiling fans: $300–$800 per fan installed. Inexpensive relative to the comfort they add in warm climates.
For pool lanai and larger-span enclosures, the add-on list often extends to pool lighting integration, deck drainage, and specialty screen grades for UV protection.
Two upgrades are almost always worth the money: insulated glazing (it changes how comfortable the space feels year-round) and a proper electrical package (a room with no outlets gets used less). Skylights and built-ins are cosmetic choices that depend entirely on your budget and how long you plan to stay in the home.
HVAC systems add ongoing energy costs. A mini-split running regularly in a 200 sq ft space adds roughly $30–$80 per month to utility bills depending on climate and usage. Factor that into your long-term budget, not just the installation line.
Will a patio enclosure add home value in San Diego?
The short answer: it depends on the type, the quality, and how well it integrates with the rest of the house.
In San Diego's climate, screened rooms and covered patios tend to perform well with buyers because outdoor living is a year-round priority here. A well-built screened room that flows naturally from the main living area reads as usable square footage to most buyers, even if it doesn't count toward official conditioned square footage in an appraisal.
Four-season sunrooms and solariums are a different story. They add significant cost but don't always recoup dollar-for-dollar at resale. The renovations that reliably increase sale price tend to be ones that improve livability without overbuilding for the neighborhood. A $120,000 solarium on a $700,000 home in a neighborhood where comparable homes sell for $750,000 is a tough appraisal conversation.
Design choices that protect appraisal value:
- Match the enclosure's roofline and exterior materials to the existing home. A mismatched addition signals "afterthought" to buyers and appraisers.
- Use the same flooring material inside the enclosure as the adjacent interior room, or a clear visual complement.
- Keep ceiling height consistent with the home's interior where possible.
- Choose frame colors that match existing window and door trim.
Pro Tip: If you're planning to sell within two years, focus on a screened room or a quality patio cover rather than a full sunroom. The cost-to-value ratio is better, the permit timeline is shorter, and buyers in San Diego respond well to clean, functional outdoor spaces. Review pre-listing repair priorities before committing to a major enclosure project.
Natural light is a genuine buyer motivator in San Diego. A glass-heavy three-season room that floods the adjacent living area with light can raise buyer appeal meaningfully, especially in homes where the main living area feels dark. That's a case where the upgrade serves both livability and resale.
How to get accurate bids and avoid the "missing add-on" problem
The most common budgeting mistake is comparing bids that don't cover the same scope. Here's how to avoid it.
Contractor questions checklist — ask every bidder the same questions:
- What foundation work is included, and what condition does the existing slab need to be in?
- What framing spec are you using (lumber grade, post size, header size)?
- What glazing type is included — single-pane, double-pane, low-E? What's the U-factor?
- Is HVAC rough-in included? If not, what's the add-on cost?
- Who pulls the permit, and what's the estimated permit fee?
- What inspections are required, and who schedules them?
- What warranty do you offer on labor and materials separately?
- Is site prep, drainage, and debris removal included?
- What's the payment schedule, and is there a fixed-price contract available?
- What's your timeline from permit approval to final inspection?
How to compare bids line by line:
Look for items marked "allowance" or "by owner" — these are costs the contractor has not priced and expects you to cover separately. A $22,000 bid with three "by owner" items can easily become $30,000. Ask every contractor to price the same scope, including site prep, electrical rough-in, and permit fees.
Budgeting steps:
- Start with a per-sq-ft estimate for your enclosure type (use the ranges in this article).
- Multiply by your square footage to get a baseline.
- Add 10%–15% for permits, site prep, and minor structural surprises.
- Add another 10% contingency for scope changes and upgrade decisions made mid-project.
- Get at least three bids before signing anything.
Pro Tip: Document your scope in writing before the first contractor call: square footage, enclosure type, glazing preference, HVAC yes/no, flooring type, and permit expectations. Send the same document to every bidder. You'll get comparable quotes instead of apples-to-oranges estimates, and you'll spot outliers immediately.
What I've seen in San Diego: a real estate agent's perspective
Patio enclosures come up constantly in listing conversations, and the pattern I see most often is homeowners who either over-invested in a feature buyers won't pay a premium for, or under-invested and left money on the table with a tired, unfinished outdoor space.
San Diego buyers expect outdoor living to work. A screened room or a quality covered patio with good lighting and a clean finish reads as a genuine lifestyle feature here. A half-finished sunroom with mismatched materials and no permit history is a disclosure problem and a negotiating chip for buyers.
My advice is consistent: match the scope of the enclosure to the price point of the neighborhood, get the permit, and hire a licensed contractor. If you're thinking about selling in the next few years and want a localized read on which upgrades will actually move the needle on your specific property, reach out directly. That's exactly the kind of conversation I have with sellers before they commit to a renovation budget.
Selling soon? Here's how Jeffsellssandiego can help
Deciding whether a patio enclosure is worth the investment before listing your San Diego home is a real calculation, not a guess. Jeffsellssandiego works with sellers to identify which upgrades actually increase sale price in their specific neighborhood and price range, so you spend money where it counts and skip what buyers won't pay for.
Whether you're weighing a screened room against a full sunroom or just trying to figure out what to fix before you list, a pre-listing consultation cuts through the noise. Jeffsellssandiego offers targeted guidance on maximizing your home's sale value before you commit to a contractor. Ready to see what your home could sell for with the right preparation? Browse current San Diego listings to understand what buyers in your neighborhood are actually paying for, then get in touch for a no-pressure conversation about your next move.
Sources
Cost ranges in this article were synthesized from national cost databases and adjusted for regional considerations. The following sources provided the primary data:
- How Much Do Patio Enclosures Cost to Build? (2026) — HomeGuide
- How Much Does a Patio Enclosure Cost? Types and Materials - LegalClarity
- Patio Enclosure Cost Guide - Builds and Buys
- How Much Does a Porch or Patio Enclosure Cost? 2025 Data — HomeAdvisor